In this exercise, i am going to model a race track.
Process
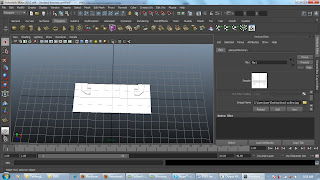
Firstly, like the previous bucket exercise, i am supposed to create a plane figure and then assign the material onto it so that i could use it as a profile guide.
After doing so, i traced out the figure by using the create polygon tool. After tracing out, i extruded the polygon out. In doing so, the rough model of the race track can be seen.
Next, we extrude another small face of the track.
After that, we bevel it.
Technically the race track is done now. However, it is a straight normal looking track. And so, to spice things up, we add a deformer to bend the track.
And this is the finished product.
Techniques
A very simple technique i learned here is to import images onto Maya, so that i can use them for easy tracing. E.g the race track profile. A very important technique i learned here would be the create polygon tool. With this tool, i believe that creating odd shapes would be easier now. And also, i am not limited to the presets polygons with this tool. The other important technique would be the deformer. This deformer very powerful in the sense that it only takes such little effort to manipulate the shape instead of moving vertices by vertices. This definitely saves a lot of time.
Reflection
To be honest, this exercise was very simple but fun. The instructions were very clear and i need not trouble the lecturer at all. In future, i hope that all the tutorials would be as clear as this one. In terms of learning, the techniques learned here would help me in my future modelling of more complex race tracks with loops or even animals like snakes.


No comments:
Post a Comment